The Ultimate Spring Guide to Repotting Houseplants
April 15, 2024
Discover our top repotting tips, like how to identify pot-bound plants, the best pots and soil to use,
and why there’s no better time to start than the present!
Spring is the best time to repot your houseplants, but knowing when exactly your greenery needs a new home can be a bit tricky. In this guide, we’ll walk you through why repotting is necessary, how to tell if your plants become pot-bound, and the steps to follow for repotting success!
Why is Spring the Best Time for Repotting Houseplants?
Just like your garden outdoors, your houseplants also experience a revival each spring, as the lengthening days boost their metabolism and kick-start another new year of growth. Repotting them in the spring gives them the room they need to expand while also providing them with fresh, nutrient-packed soil right when they need it the most. Plus, spring’s optimal growing conditions ensure your houseplants will take root and are less likely to go into shock after the move.

How to Identify if a Plant is Pot-Bound
So, how do you know if your plant’s ready for a bigger pot? Well, as luck would have it, it’ll tell you itself! Just look for these signs:
- Roots Peeking Out: Roots poking out of drainage holes at the bottom of the pot or through the top of the soil are a sure sign that your plant is outgrowing its space.
- Top-Heavy Plant: Is your plant frequently tipping over or at risk of doing so, even in the windless indoors? Well, this imbalance is a sure sign that its roots don’t have enough space to grow and are pot-bound.
- Stunted Growth: Have you noticed that your plant’s growth has slowed or stalled altogether? It could be because it’s running out of room to spread its roots and access the nutrients it needs to thrive, meaning it’s time for a move.
- Circling Roots: If you gently remove your plant from its pot and notice its roots circling around it like a tangled web, it’s time to upsize its home.
How to Repot Your Indoor Plants: Key Steps and Care Tips
Mastering the art of houseplant repotting is an essential skill for indoor gardeners. Here’s how to do it right, so you’ll be ready when the time inevitably comes:
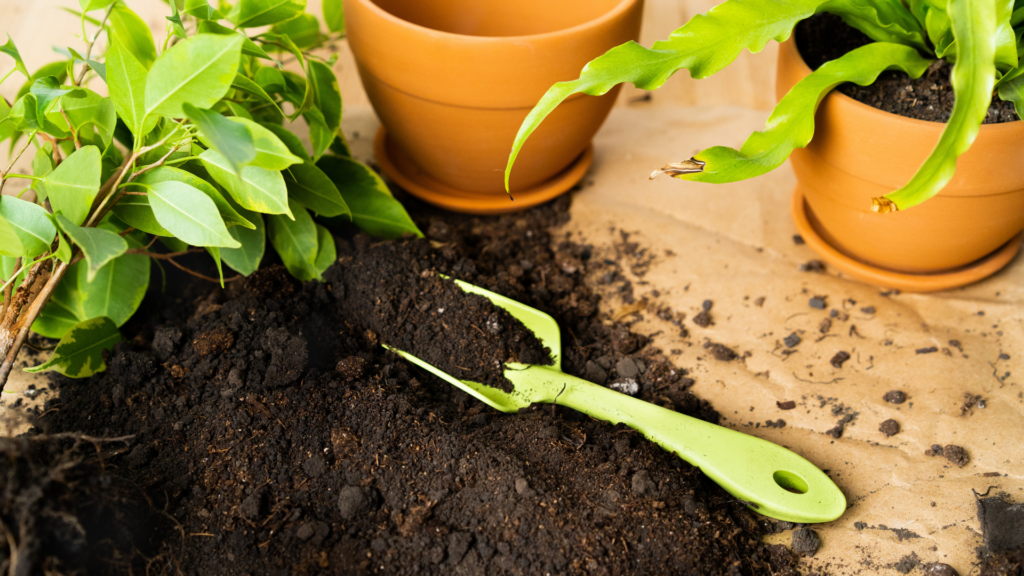
- Gather Your Tools and Supplies: Before you start, make sure you have your new pot, a spoon or trowel, fresh potting soil, and a mat of some kind to work on.
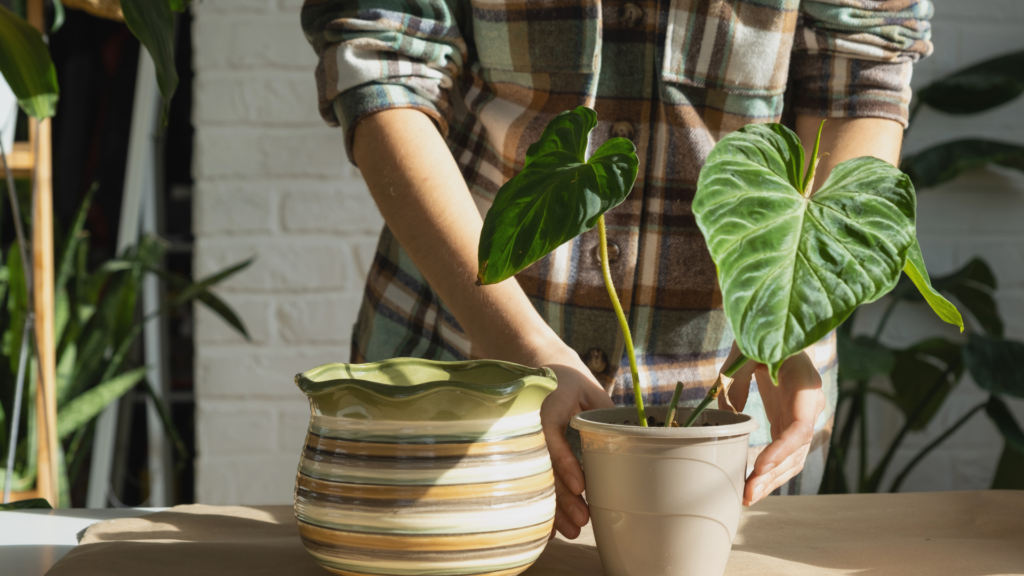
- Prepare the New Pot: Next, fill the new pot about a third of the way with your soil. Remember that your new pot should be about one size bigger (1-2″ larger in diameter) than the old one. We’ll go into more detail on pot and soil selection in the next sections.
- Gently Remove the Plant: Gently tip your plant sideways, tap the bottom of the pot to loosen it, and carefully remove it, supporting the base of its stem with your hand.
- Loosen the Roots: If your plant’s roots are tightly bound, gently tease them apart with your fingers to encourage them to spread out in their new home.
- Place the Plant in the New Pot: Settle your plant into its new pot, making sure it’s centered and at the same depth as it was in the old pot.
- Fill in the Gaps: Use your trowel or spoon to fill in any gaps around your plant with fresh potting soil, gently packing it down to ensure the plant is secure.
- Water Thoroughly: Give your newly repotted plant a good drink of water to settle the soil and hydrate its roots. Keep watering until it drains out of the bottom of the pot.
- Extra Love and Care: After repotting, your plant might be feeling a bit stressed out, so ensure you give it the correct amount of water in the following weeks—not too much or too little. If the brighter spring sun brings changes to light exposure, ensure you adjust your plant as needed!
Choosing the Best Pot for Your Houseplant
When repotting your houseplants, the size of your new pot is crucial; if it’s too big, consistent watering becomes a challenge, and your plant’s proportions will seem wonky. Ideally, you want to upsize your houseplant to a new pot about 1-2″ larger in diameter than the old one, which will give it just the right amount of space to expand while remaining comfortable. You’ll also want to ensure your pot has draining holes, drilling them yourself if needed.
Soil Selection for Potted Plants
Matching your houseplant with the right potting mix is the secret to ensuring they thrive in their new home. Here’s a rundown of a few of our most popular types of mixes and which plants they’re best suited for:
- Standard Potting Mix: This is your all-purpose, go-to potting mix for most houseplants, perfect for your everyday leafy pals like pothos, spider plants, philodendrons, and many others.
- Cactus/Succulent Mix: If you have a collection of prickly pals or succulent stunners, this is the mix for you. Lightweight and sandy, it allows for quick drainage, making it ideal for plants that like it dry.
- Orchid Mix: Orchids are a special breed in need of a special mix. Orchid mix is typically made up of bark chips, charcoal, and perlite, providing excellent drainage and aeration for their delicate roots.
Extra Indoor Plant Care Tips for After Repotting
Growing houseplants is an art of observation. Unlike cats and dogs, who will call at you if something’s amiss, most plants prefer using subtle signs to voice their displeasure. As a result, it’s crucial to observe your houseplant with a keen eye after repotting to see how it’s doing. Now that it’s in a bigger pot, ensure it has the proper light in its new home. Remember also that your plant’s water, light, and humidity needs may all change in the spring as the temperature rises and the sun gets brighter, so you may need to water your plant more frequently.
With this essential knowledge, you’re well on your way to being able to repot your indoor plant collection like a pro! If you’re ready to start repotting your houseplants this spring, come visit our garden center in Glenside for any supplies and extra advice you may need!