Keep Your Orchids Blooming: The Best Time and Way to Repot
February 10, 2025
How to repot orchids might not be the first thing on your mind when admiring their elegant blooms, but trust us—your orchid is counting on you! Orchids are like the celebrities of the plant world—gorgeous, exotic, and totally worth the effort. But even the most glamorous stars need a little behind-the-scenes care to stay in the spotlight. One of the most essential, yet overlooked, parts of orchid care is repotting.
In this blog, we’ll dive into the magical world of orchids and learn how to keep these beauties happy and thriving! Whether you’re a seasoned orchid grower or a curious beginner, we’ll guide you through recognizing when it’s time to repot, choosing the best potting mix, and making the repotting process seamless.
Meet the Orchids – A Quick Tour of Varieties
Not all orchids are created equal! Some are divas, some are easygoing, and some are downright adventurous. Let’s introduce the stars of the show:
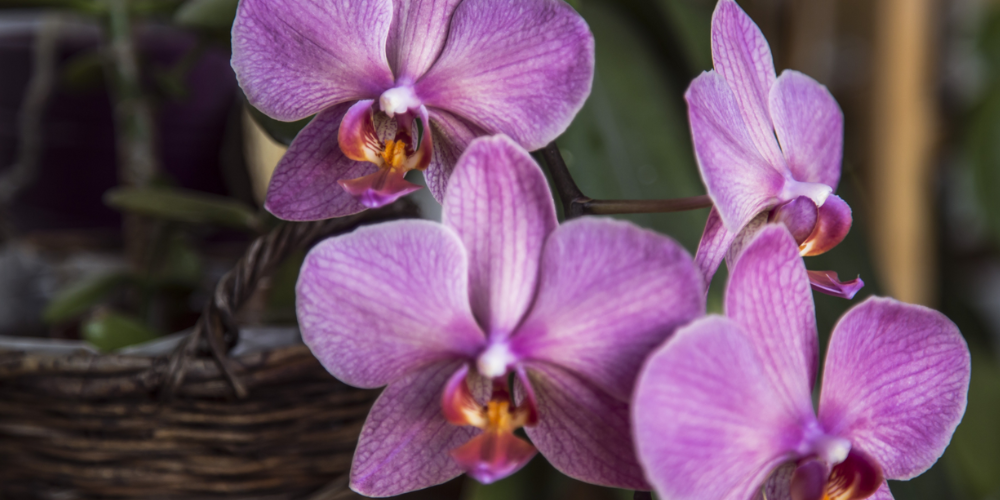
- Phalaenopsis (The Showstopper): This is the orchid you see everywhere, and for good reason! Phalaenopsis orchids, also known as moth orchids, are low-maintenance and perfect for beginners. They thrive in indirect light and reward you with stunning long-lasting blooms.
- Cattleya (The Diva): Known for its dramatic, fragrant flowers, the Cattleya orchid loves attention. It enjoys bright, indirect light and a bit more humidity than its Phalaenopsis cousin. Many Cattleya are also fragrant.
- Dendrobium (The Versatile Traveler): Dendrobiums are adaptable, making them a great choice for those looking to experiment. They bloom in a variety of colors and thrive in different environments.
No matter the variety, all orchids need repotting at some point to keep their roots healthy and happy.
When to Repot – Know Your Orchid’s Cues
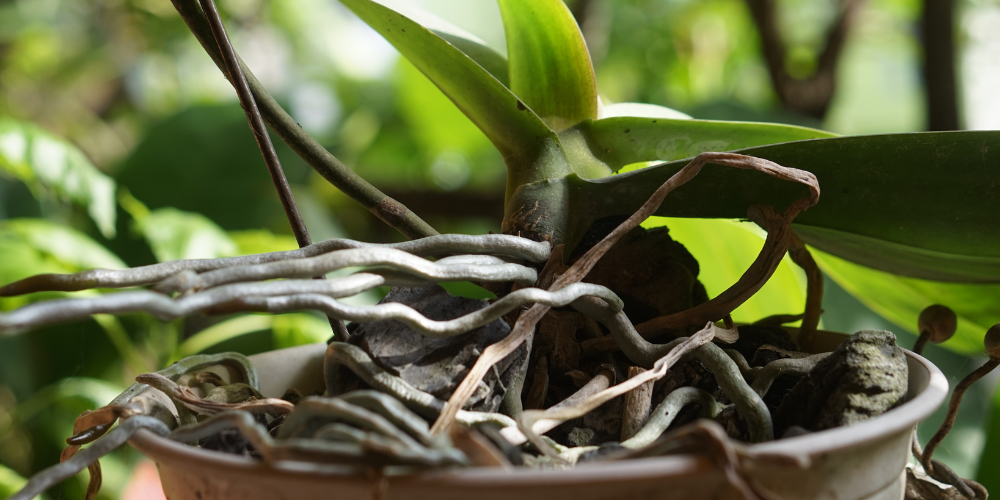
Does your orchid look like it’s outgrowing its pot, or does it just seem a little tired? It might be time for a refresh! Here are some telltale signs that your orchid is ready for a new home:
- The roots are spilling out over the sides of the pot.
- The potting mix has broken down and no longer provides proper drainage.
- The plant looks top-heavy and unstable.
- You see dead or rotting roots.
Best time to repot orchids in Glenside? Right after they finish blooming! Orchids like to be repotted during their resting phase, giving them time to settle into their new digs before the next bloom cycle.
The Art of Repotting – Step-by-Step Instructions
Now that you know when to repot, let’s get into the how! Follow these simple steps to give your orchid a fresh start:
- Gently remove the orchid from its pot. Tip the pot sideways and carefully slide the plant out. If the roots are clinging to the sides, squeeze the pot slightly to loosen them. Remember, no sudden movements—this isn’t an action movie!
- Trim dead or rotting roots. Healthy roots are firm and green or white. Snip off any mushy, brown, or black roots with sterilized scissors.
- Choose the right pot. Orchids prefer snug spaces. Pick a pot that’s just slightly larger than the old one, with good drainage holes to prevent root rot.
- Pick the right potting media. (More on this in the next section!)
- Position the orchid in the new pot. Hold it in place while you add fresh, moist, potting mix around the roots.
- Water lightly. After repotting, give your orchid a light watering to help it settle in.
Repotting orchids for beginners doesn’t have to be stressful—think of it as a spa day for your plant!
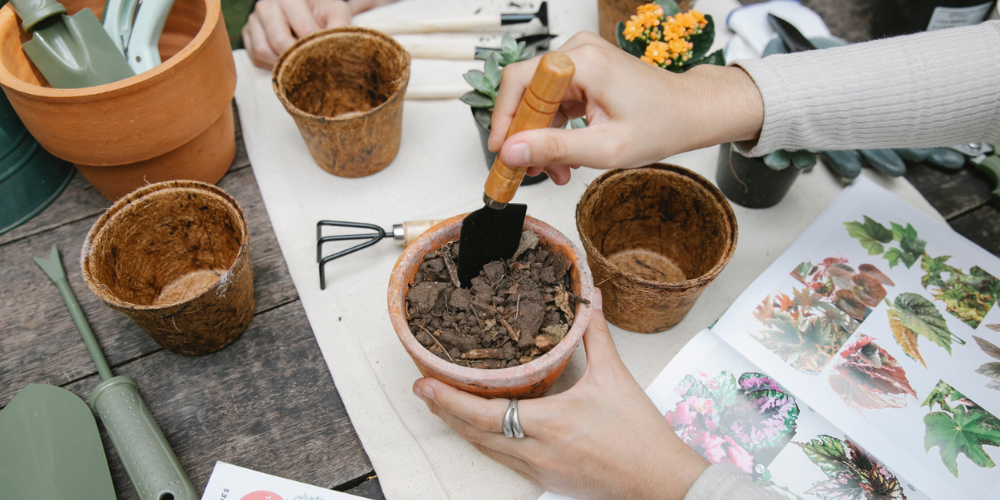
Choosing the Right Potting Media – The Secret Sauce
Orchids are picky about their potting mix, and using the wrong type can spell disaster. Unlike most houseplants, orchids don’t grow in soil. Instead, they need a light, airy mix that provides proper drainage while holding just enough moisture.
Here are the best options:
- Bark mix – Great for Phalaenopsis and Cattleya. It provides excellent drainage and mimics an orchid’s natural growing environment.
- Sphagnum moss – Ideal for orchids that need more moisture. It retains water well and is great for Dendrobiums.
- Perlite and charcoal – Often added to mixes to improve aeration and prevent rot.
Think of choosing potting mix like picking out bedding—your orchid wants something breathable and comfortable, not too soggy or too dry. The best time to repot orchids in Glenside is when the old mix starts breaking down, which is typically every 1-2 years.
Celebrate Your Orchid’s New Beginning
Congratulations! You’ve just given your orchid a fresh new start. Repotting is an essential part of orchid care, ensuring your plant has the space and nutrients it needs to thrive. Now, sit back and watch as your orchid adjusts, grows stronger, and rewards you with stunning blooms.
How to repot orchids is a skill every orchid lover should master. With patience and practice, you’ll be able to keep your orchids healthy and happy for years to come.
Ready to give your orchid a fresh start? Grab your supplies and get repotting! Snap a before-and-after photo and share it with us—we’d love to see your orchid’s glow-up!